Set up auto-pay and manage payment methods (for parents)
Saving a card or bank account makes future payments one click, and turning on Auto-Pay means your recurring tuition gets paid automatically each time it's due. This guide is written for parents: it covers adding a card or bank account, setting a default, removing one, and switching auto-pay on or off. (Admins can share this with families too.)
Everything here lives under My Billing. Your saved cards and bank accounts are stored securely with Stripe — MarkTrack never keeps your full card number or account number.
Step 1 — Open your payment methods
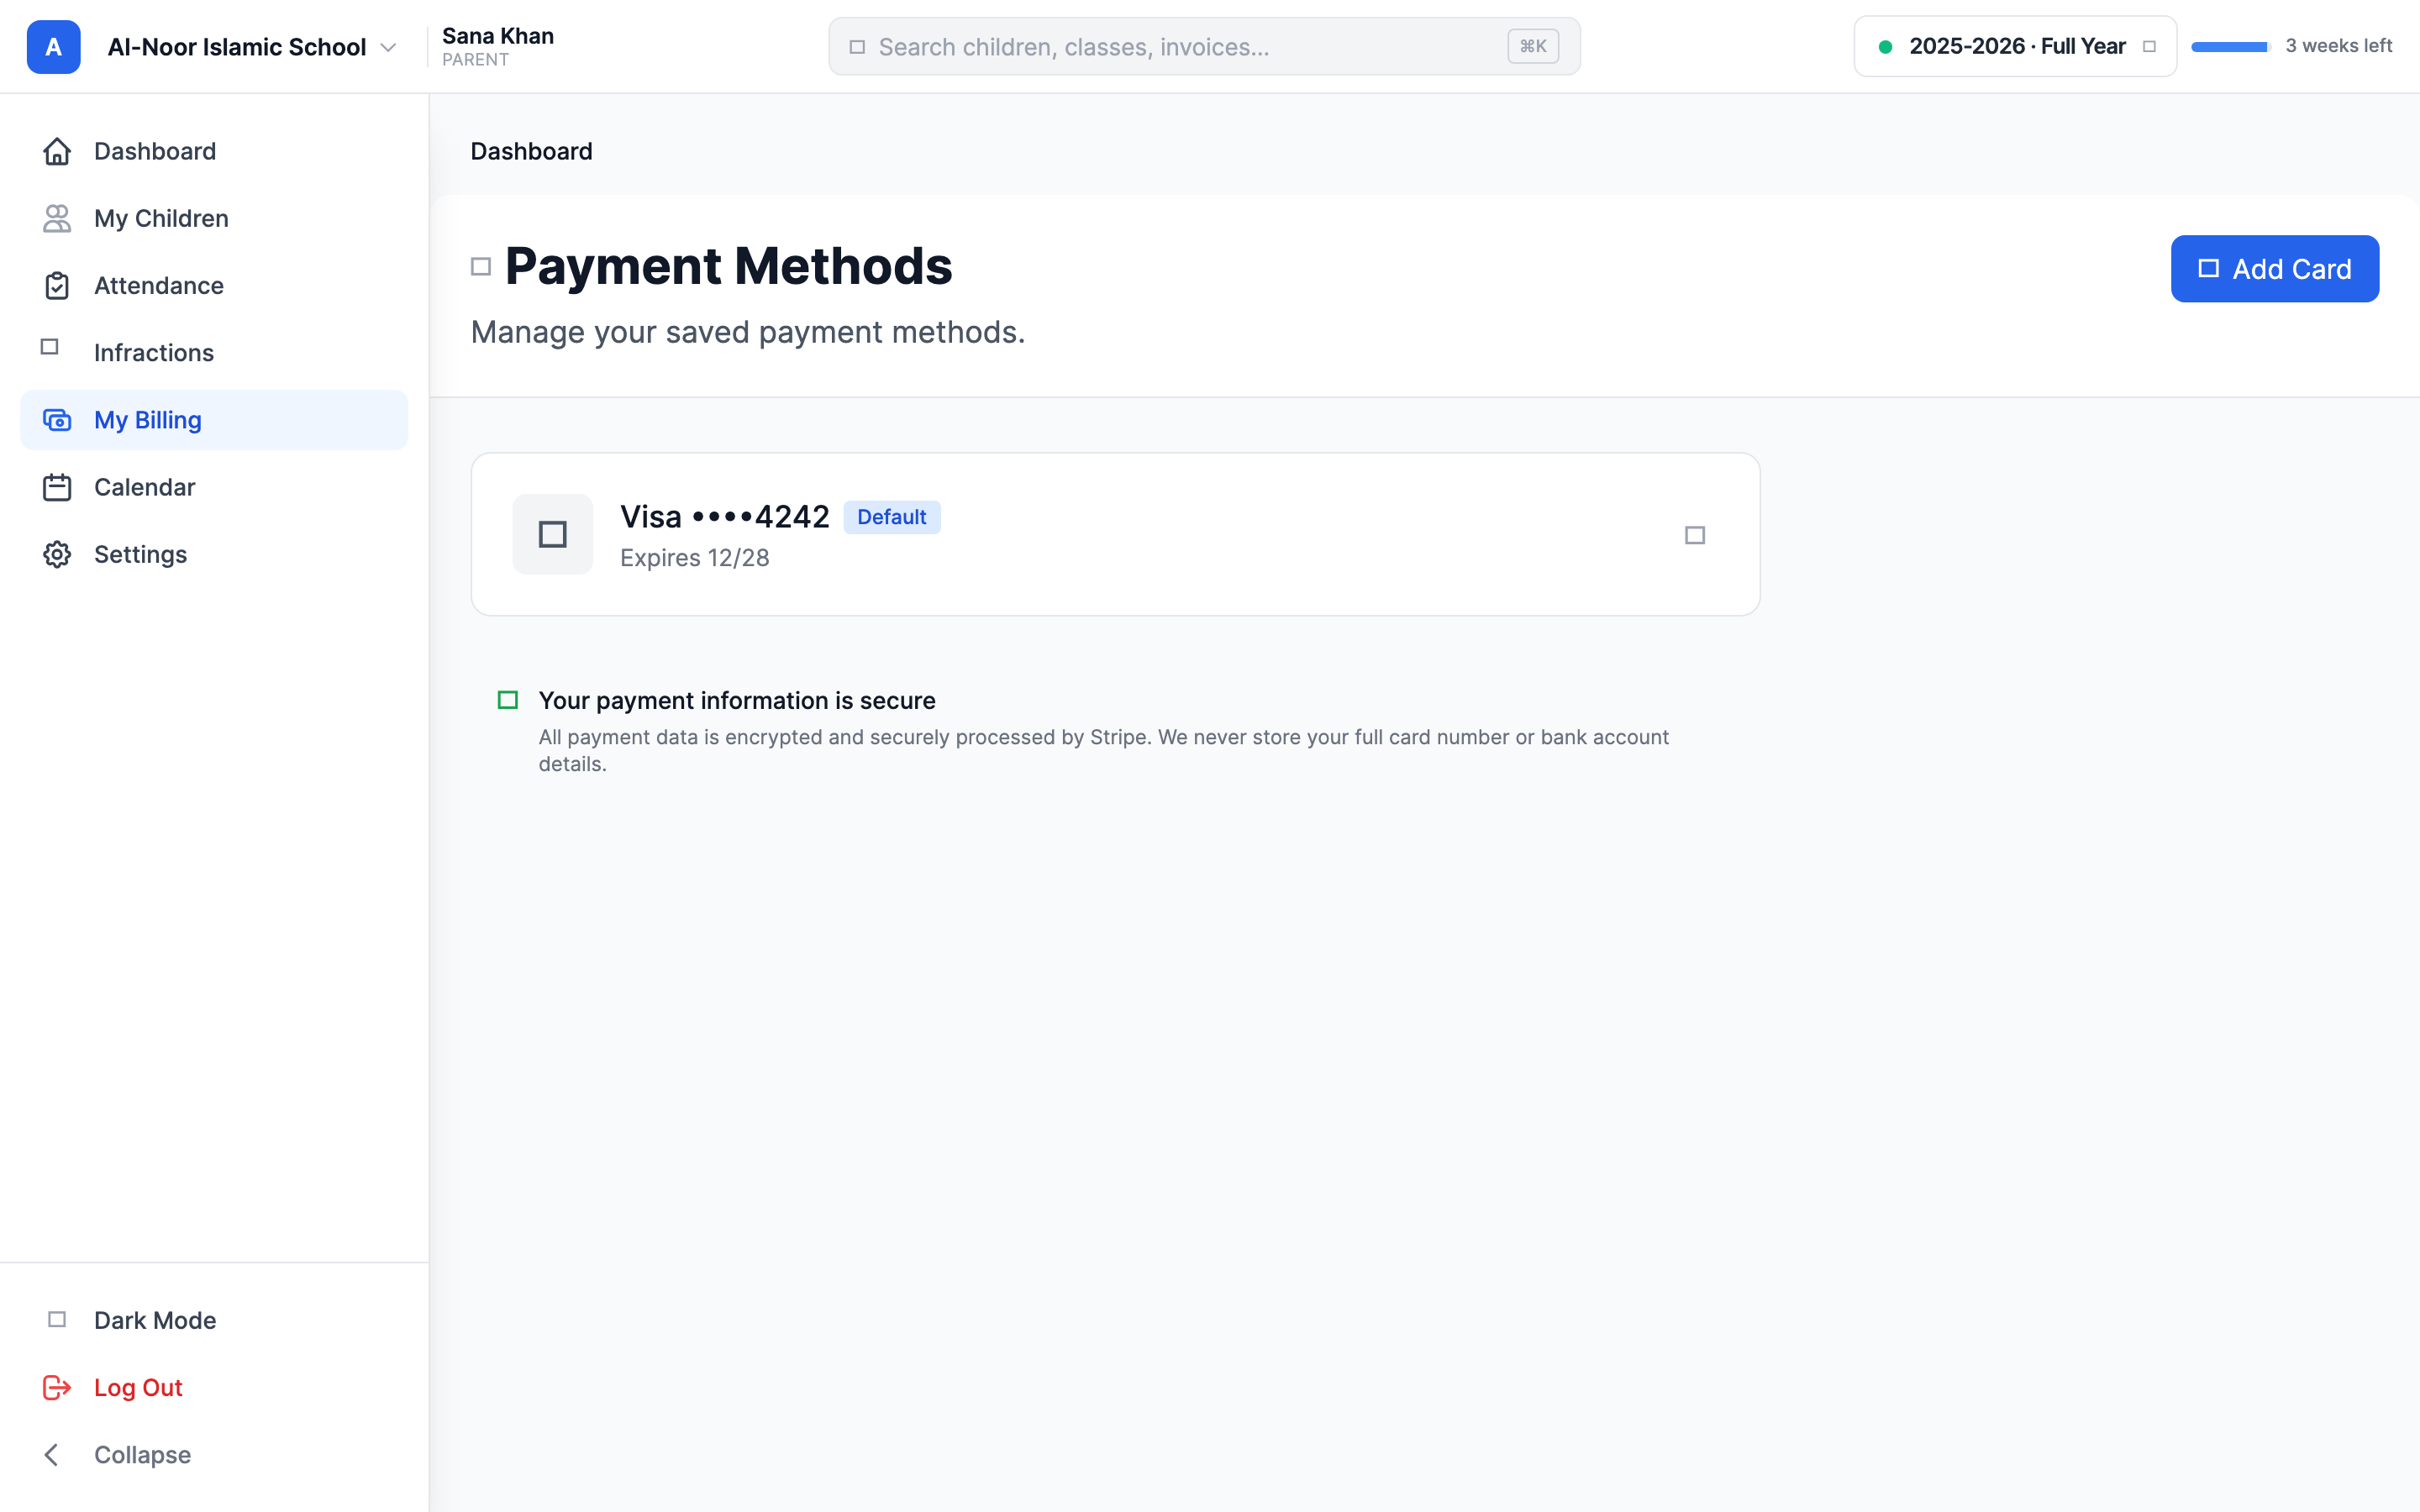
From the My Billing dashboard, click Payment Methods at the top right. A window opens listing any cards or bank accounts you've already saved, each with the brand and last four digits, an expiry date for cards, and a Default badge on the one that's used first.
Step 2 — Add a card
- In the Payment Methods window, click Add Card.
- The Add Credit or Debit Card form appears. Type your card number, expiry, and security code into the secure box.
- Click Add Card to save it.
Your first saved method automatically becomes the Default. The card is now available whenever you pay an invoice and can be used for auto-pay.
Step 3 — Add a bank account (ACH)
If your school has enabled bank payments, you'll also see an Add Bank button.
- Click Add Bank. The Add Bank Account (ACH) form appears.
- Click Connect Bank Account and follow Stripe's secure prompts to link your bank.
Why use a bank account?
Bank transfers (ACH) usually carry lower processing fees than credit cards. The trade-off is timing: a bank payment typically takes 3–5 business days to clear, so the invoice may show as Processing until it does.
No Add Bank button?
Bank payments are turned on per school. If you only see Add Card, your school hasn't enabled ACH — use a card instead, or ask the school to turn it on.
Step 4 — Set a default or remove a method
The Default method is the one offered first when you pay. To change or clean up your saved methods:
- Set as Default — click Set Default (or Set as Default) next to any other method. Only one method is the default at a time; choosing a new one clears the old.
- Remove — click the trash icon next to a method and confirm. If you remove the default and you have other methods left, MarkTrack automatically promotes your most recent one to default.
Removing a card affects auto-pay and payment plans
If you delete the card your auto-pay is set to use, auto-pay no longer has a card to charge — switch it to another card (Step 6) so your recurring tuition keeps getting paid. The same goes for any payment plan your school set up on that card: removing it pauses the plan until a new card is added, and your school will see that it needs attention.
Step 5 — Turn on auto-pay
Auto-Pay automatically charges your chosen method whenever a recurring invoice is generated, so you don't have to remember to pay tuition each month.
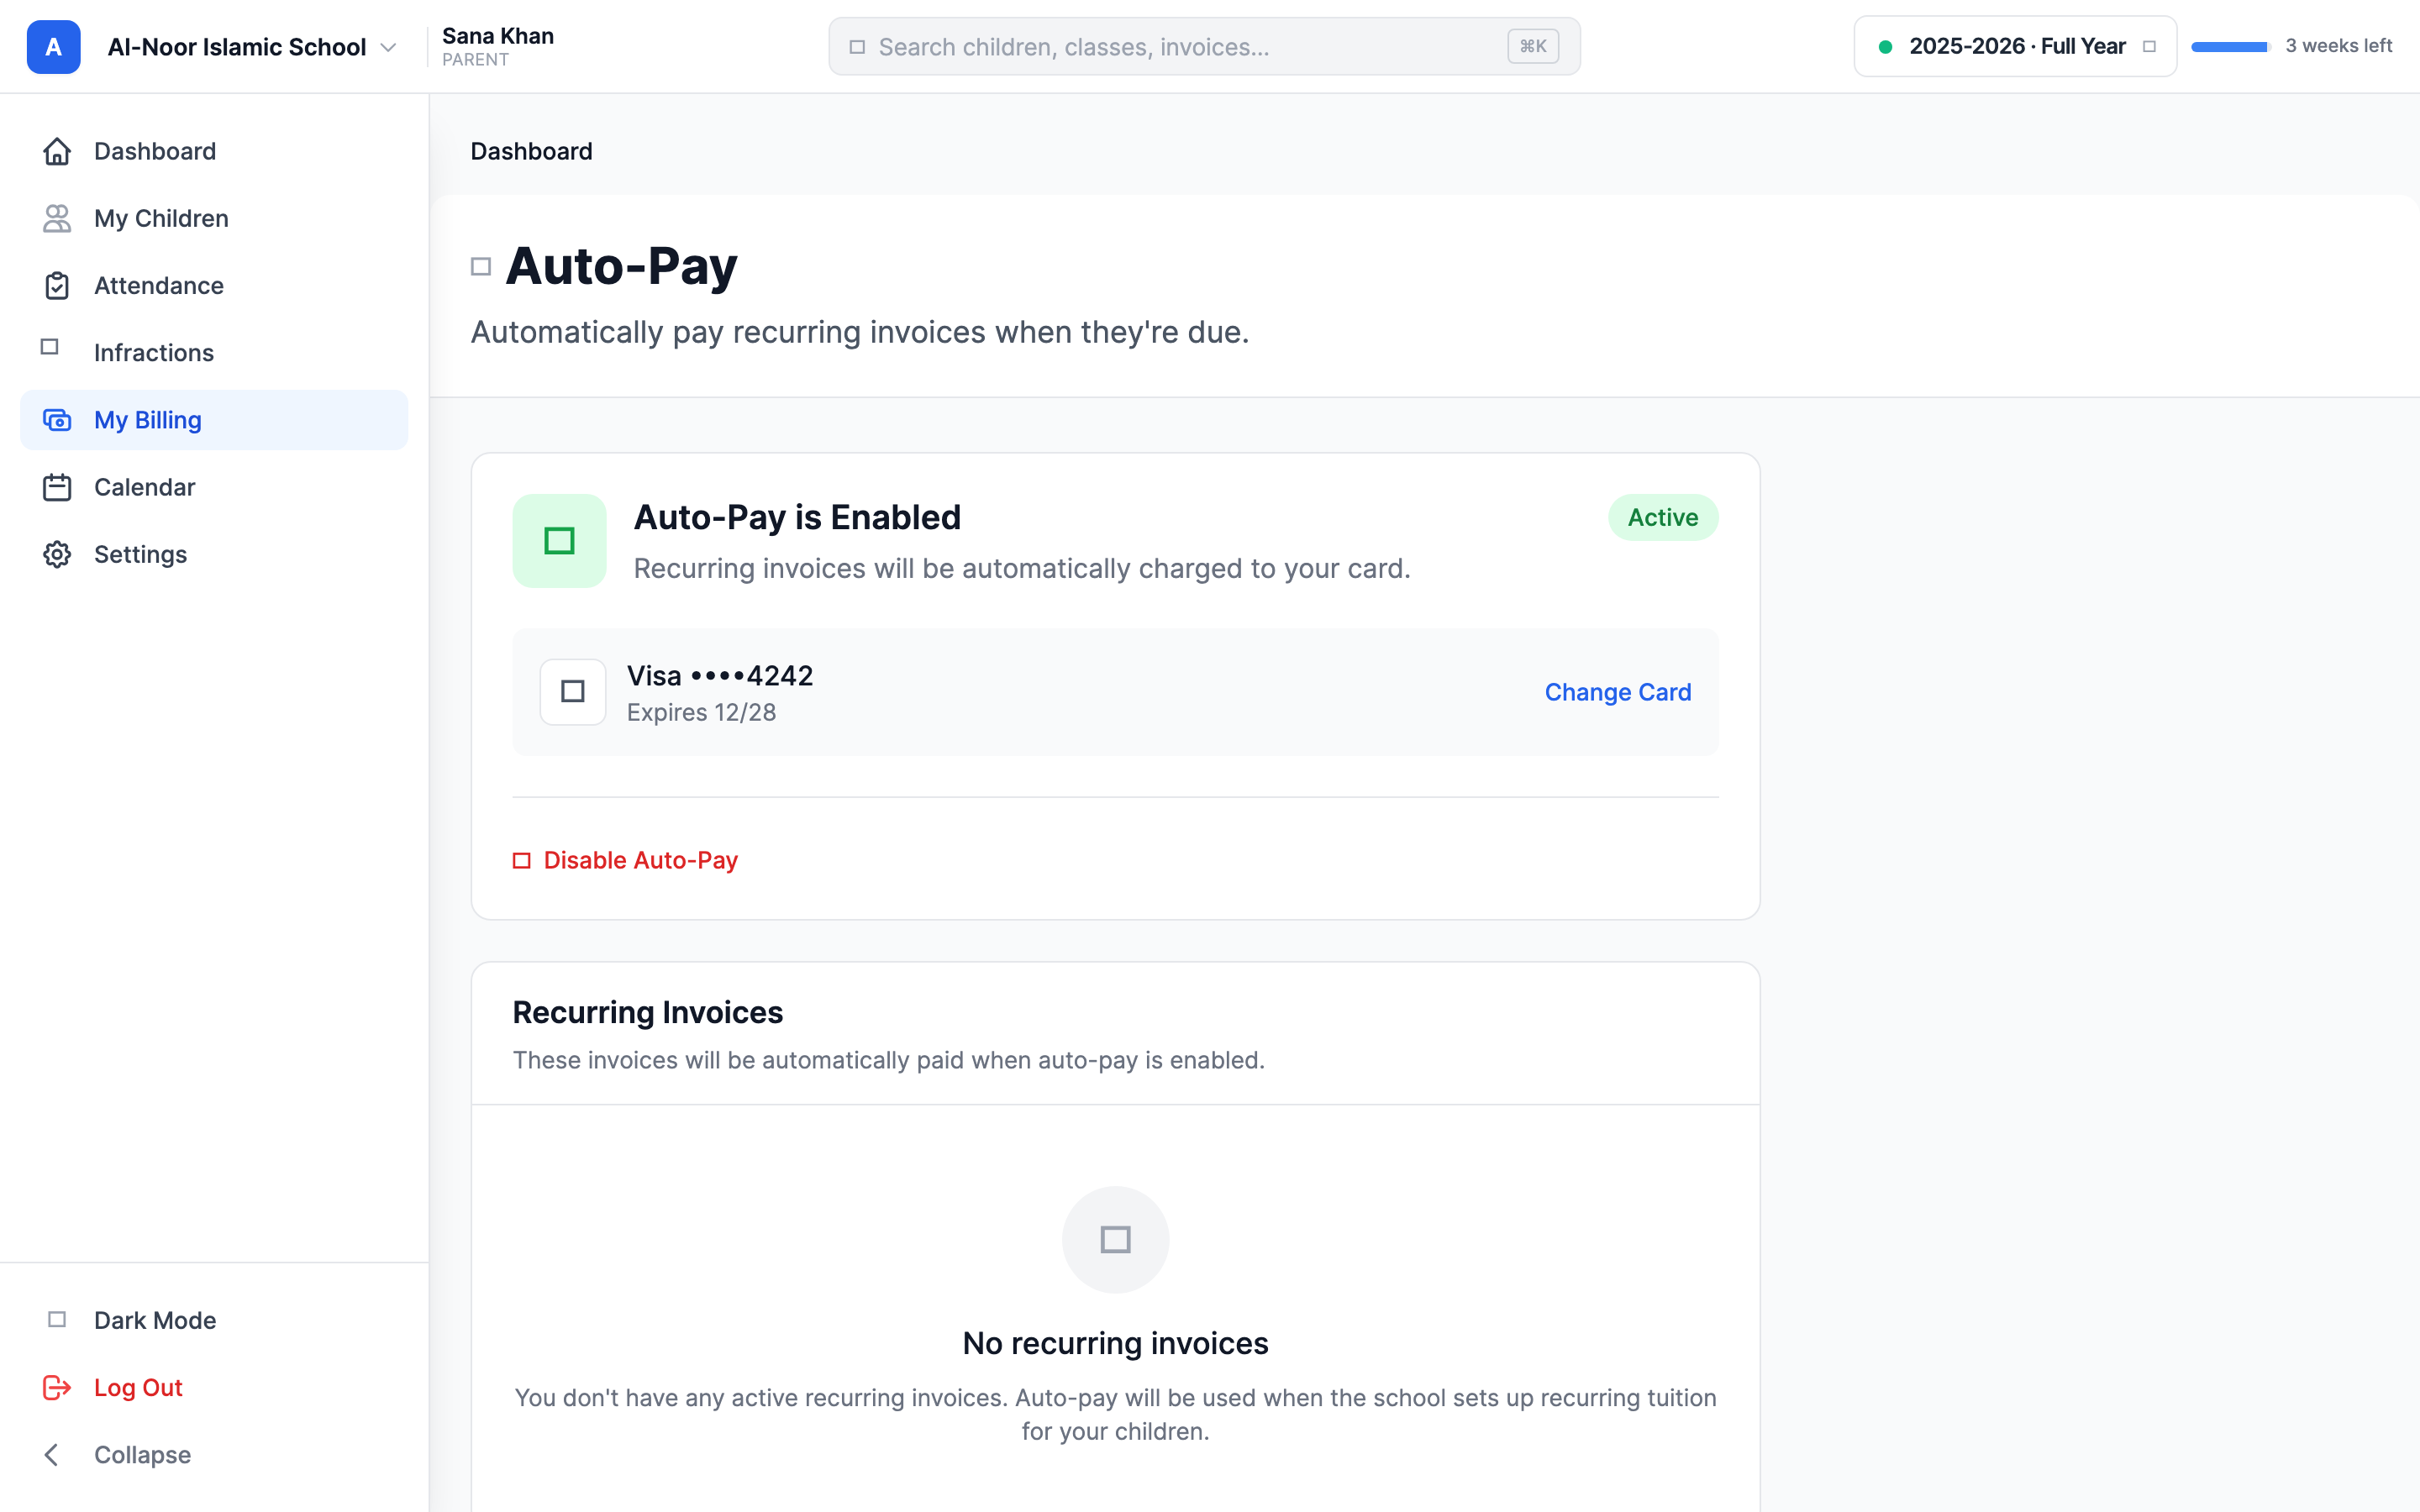
- From the My Billing dashboard, click the Auto-Pay button at the top.
- The Auto-Pay page shows whether auto-pay is currently Enabled or Disabled. If it's off and you have saved methods, you'll see Select a card to use for automatic payments.
- Click the card you want to use. Auto-pay turns on immediately, and the card you picked is shown as the active auto-pay method.
If you don't have any saved methods yet, the page shows No payment methods — Add a card first; click Add Card, save one, then come back and enable auto-pay.
What auto-pay does
When a recurring invoice is created, MarkTrack charges your selected method and emails you a receipt. The Auto-Pay page lists your Recurring Invoices (with their next charge date) and recent auto-pay results. If a charge ever fails, you'll be notified and can pay manually or update the card — your school sees the failure too.
Step 6 — Change the auto-pay card
To point auto-pay at a different saved method:
- On the Auto-Pay page, next to the current card, click Change Card.
- Pick another saved card from the list. Auto-pay switches to it right away.
If the card you want isn't there yet, use Add a new card from that window (or the Payment Methods window) to save it first, then change to it. Note that an expired card can't be used for auto-pay — add a current one if you're prompted.
Step 7 — Turn off auto-pay
- On the Auto-Pay page, click Disable Auto-Pay and confirm.
- Auto-pay stops. Your recurring invoices will still be created, but you'll need to pay each one yourself from the Unpaid tab.
Turning auto-pay off doesn't remove your saved cards — they stay in Payment Methods for manual payments, and you can re-enable auto-pay any time.
Next steps
Ready to actually pay something? See Find and pay your invoices for paying a single invoice, making a partial payment, and downloading receipts.
Billing is run by your school, so questions about amounts, due dates, or refunds go to them. If something in MarkTrack itself isn't behaving, contact us.
More in Billing & Tuition
Still stuck?
Our team is happy to walk you through it.