Refunds, reminders, and receipts
After an invoice goes out, four follow-up actions live on its detail page: issuing a refund, sending a reminder, sending a receipt, and cancelling the invoice. This guide walks through each one — what it does, what the family receives, and the side effects to watch for.
All four start the same way: go to Billing → Tuition, open the invoice, and use the Actions panel on the right. Which buttons appear depends on the invoice's status. For how invoices get created in the first place, see Create and send invoices; for logging offline payments, see Record a cash or check payment.
Step 1 — Send a payment reminder
A reminder is a nudge email to the family about an unpaid invoice. You don't have to pick the wording or the tone — MarkTrack chooses the right reminder type automatically based on the invoice's due date:
- Upcoming — the due date is still in the future.
- Due — the due date is today.
- Overdue — past due, but less than 30 days late.
- Final notice — 30 or more days past due.
- Open an unpaid invoice (status Sent, Partial, or Overdue).
- Click Send Reminder at the top of the page.
- You'll see "Reminder sent." MarkTrack picks the correct reminder type for you and emails the family right away.
The reminder button only shows on unpaid invoices
If the invoice is fully paid, there's nothing to remind about, so the button is gone. A draft shows Send Invoice instead (it isn't a reminder — it's the first send). To remind several families at once, use the bulk reminder action on the main Billing dashboard rather than visiting each invoice.
Step 2 — Send a receipt
A receipt confirms a completed payment. The Send Receipt button appears in the Actions panel only once an invoice is fully Paid.
- Open a paid invoice.
- In the Actions panel, click Send Receipt.
- MarkTrack emails the receipt for the most recent successful payment to the family, and confirms with "Receipt sent to [family email]."
Receipts are sent on demand — recording a manual cash or check payment does not auto-send one, so use this button when a family asks for proof of payment. If there's no successful payment on file, MarkTrack tells you and sends nothing.
Step 3 — Issue a refund
A refund returns money to a family for a payment they already made. Refunds are processed through Stripe and go back to the original payment method the family used — so you can only refund a real online card or bank payment.
Cash and check payments can't be refunded here
A refund only works on a payment that went through Stripe (a card or bank payment). Manual cash and check payments you recorded yourself have no Stripe charge behind them, so they show no Refund button — you simply hand the family their cash back and, if you need to zero out the invoice, cancel it (see below).
- Open a Paid invoice (or one with a refundable payment).
- In the Actions panel, click Issue Refund — or, on the Payments tab, click the Refund button next to a specific payment.
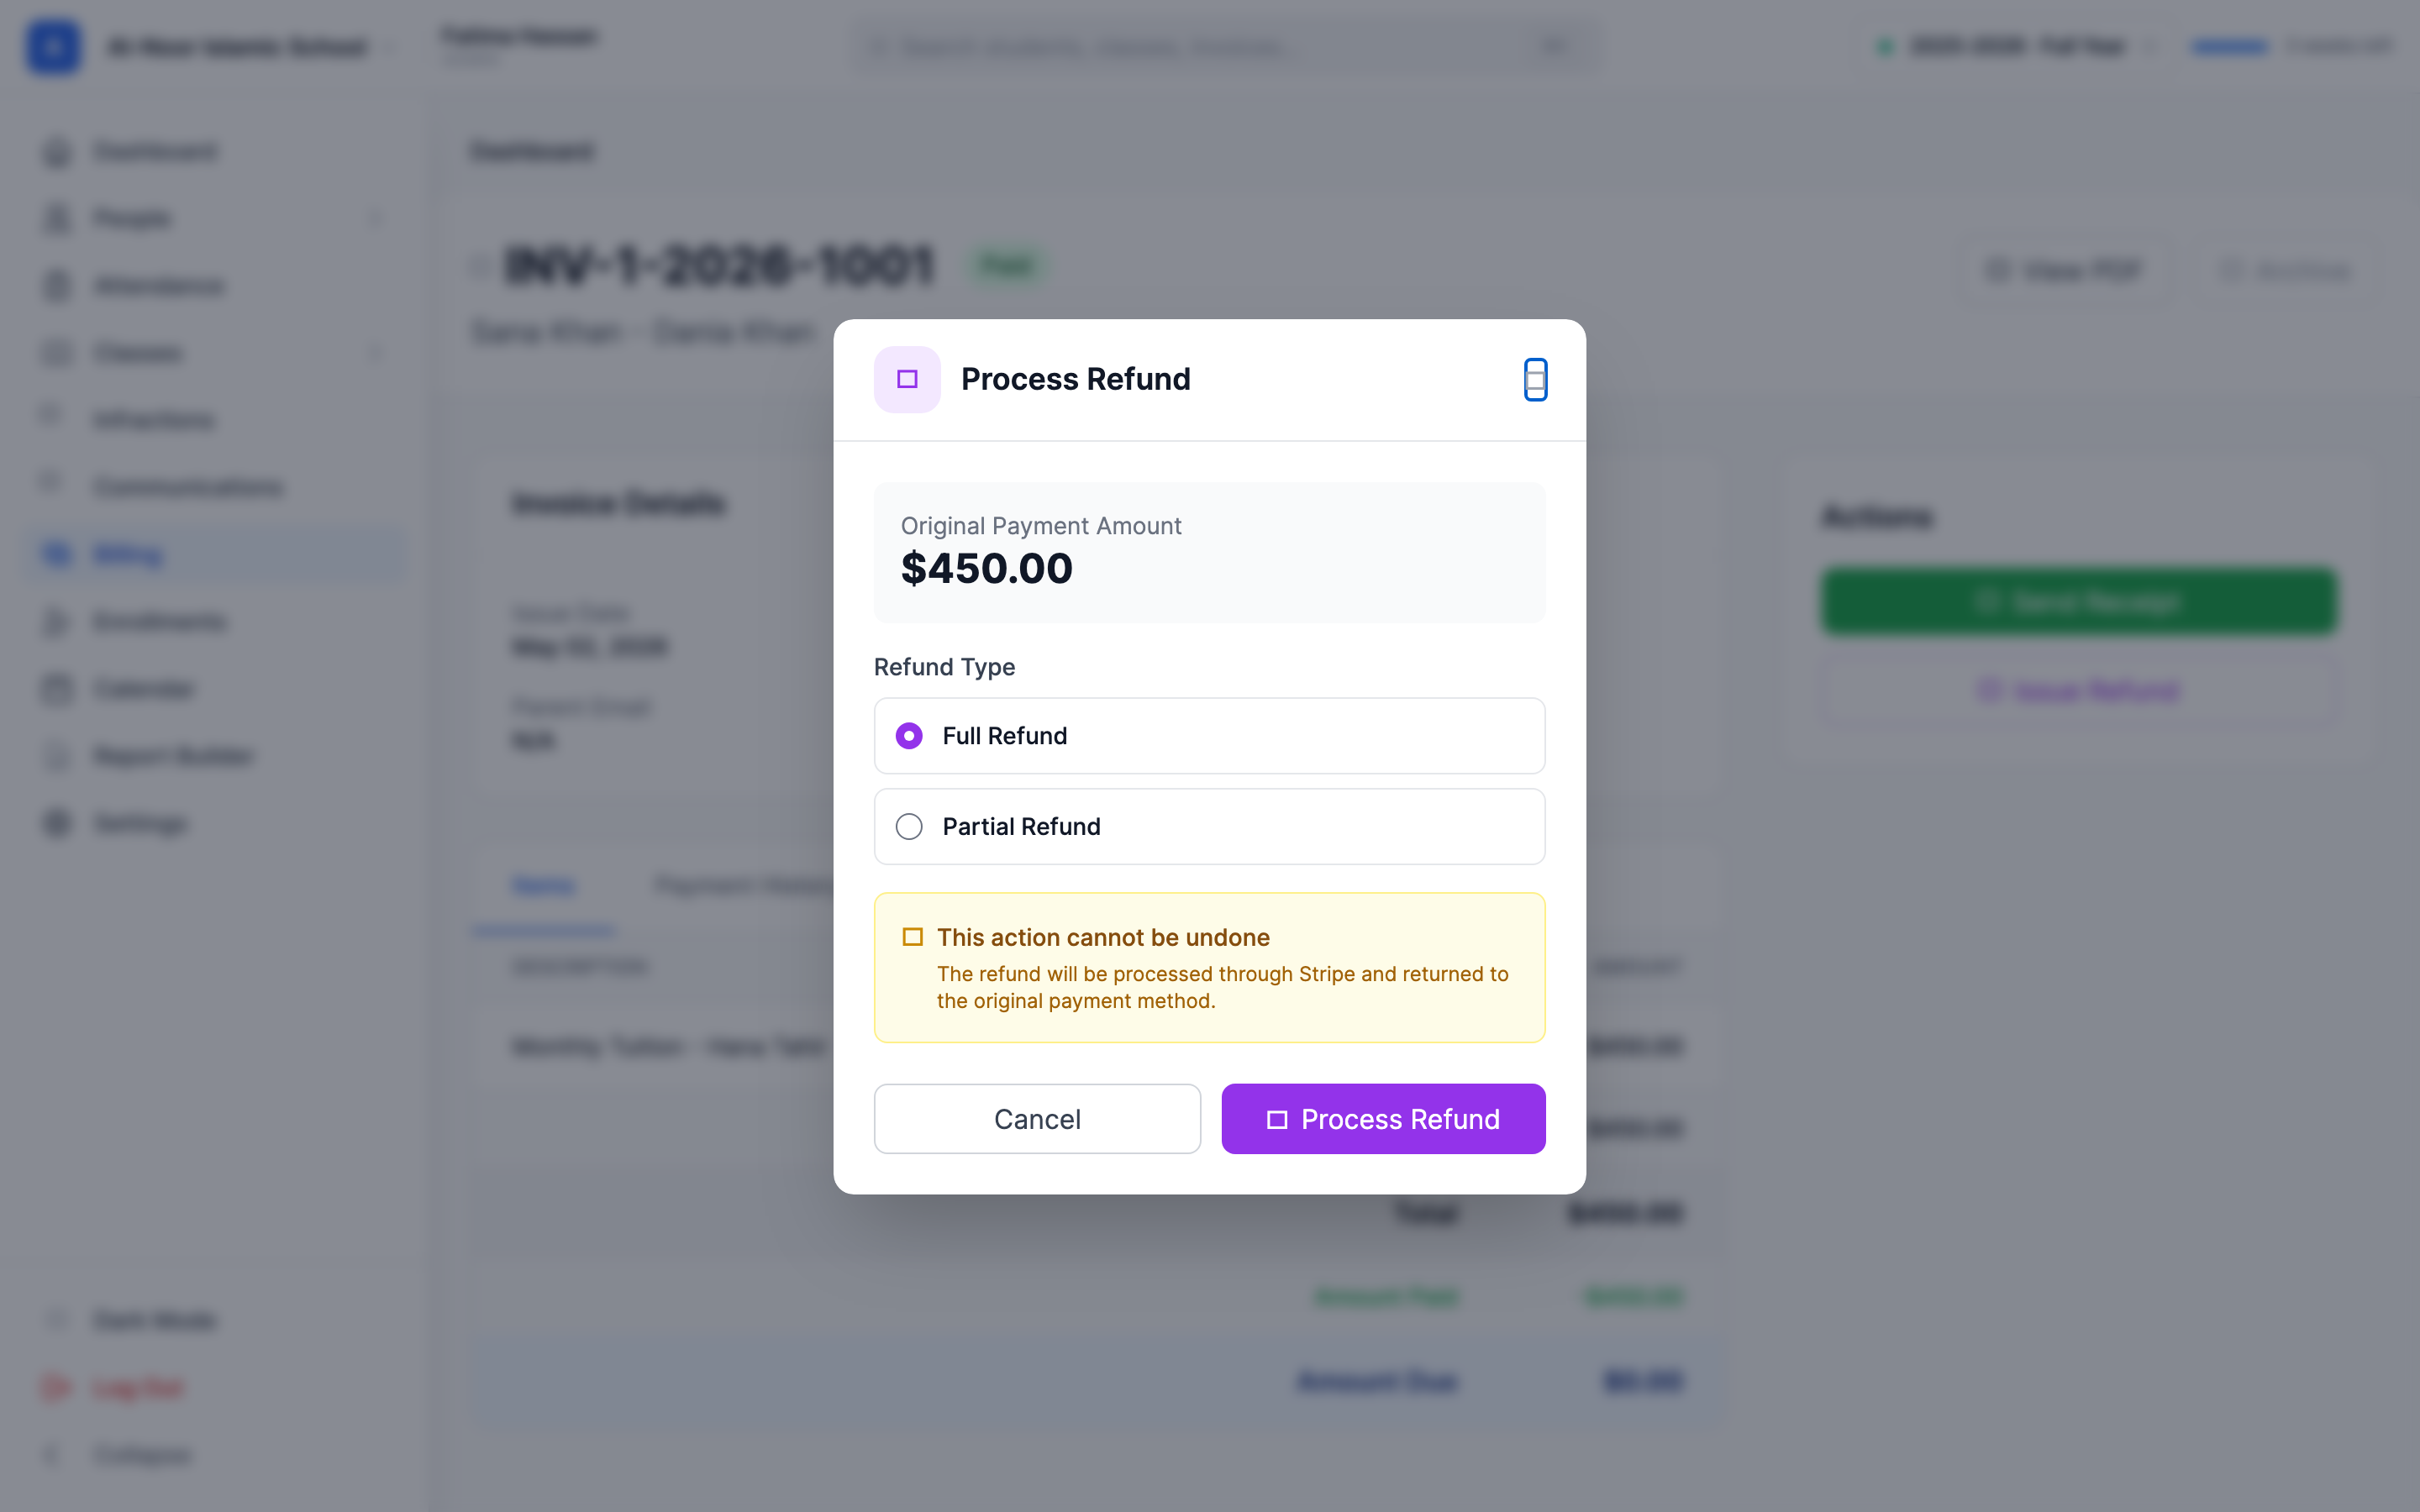
- The Process Refund window opens, showing the Original Payment Amount.
- Choose a Refund Type:
- Full Refund — returns the entire payment.
- Partial Refund — reveals a Refund Amount box where you enter any amount up to the original payment.
- Click Process Refund. You'll see "Refund of $… processed successfully."
What happens when you process a refund:
- Stripe sends the money back to the family's original card or bank account.
- The family is automatically emailed a refund notification — you don't send it separately.
- The invoice's status is recalculated. A full refund of the only payment moves it to Refunded; a partial refund moves it back to Partial with the remaining paid amount.
- On the Payments tab, the payment is tagged Refunded or Partially Refunded.
Refunds can't be undone
Once you click Process Refund the money is on its way back through Stripe — there's no "un-refund." Double-check the amount before confirming. If the payment funded a payment plan, refunding it pauses that plan so you can decide how to collect the balance instead of the schedule charging the family again.
Step 4 — Cancel an invoice
Cancelling voids an invoice the family should no longer pay — a duplicate, a charge sent in error, or a student who withdrew. The Cancel Invoice button is in the Actions panel for any invoice that isn't already paid or cancelled.
- Open the invoice.
- In the Actions panel, click Cancel Invoice.
- Confirm when asked "Are you sure you want to cancel this invoice?"
What cancelling does:
- Sets the invoice status to Cancelled. The family can no longer pay it, and it drops out of your outstanding totals.
- Stops any payment plan on the invoice. If the invoice had an active, paused, or pending payment plan, that plan is cancelled and its upcoming scheduled installments are skipped — so a parent's card won't get charged for an invoice you just voided.
- Installments that were already paid stay paid — they reflect real money that moved. Cancelling doesn't refund anything; if you need to return money, issue a refund before or after cancelling.
Cancel vs. delete vs. archive
Delete only exists for untouched Draft invoices with no payments — it removes them entirely. Cancel voids a sent invoice while keeping its history. After cancelling, an Archive button appears to tuck the cancelled invoice out of the dashboard view. You cannot delete an invoice that has any payments on it.
That's the full follow-up toolkit
Reminders nudge unpaid families, receipts confirm payments, refunds return money (and email the family), and cancelling voids an invoice plus its payment plan. Need to log an in-person payment instead? See Record a cash or check payment.
Stuck on a refund or a stuck invoice? Contact support, or see more in Billing & Tuition.
More in Billing & Tuition
Still stuck?
Our team is happy to walk you through it.